FINAL PROJECT: PROTOTYPE
The next class task was to create the prototype of one of the parts of our 3D designs.
I decided to work on creating the corset. Therefore, I printed the pattern and created the small prototype from a piece of paper.
This is the whole process and the final outcome.
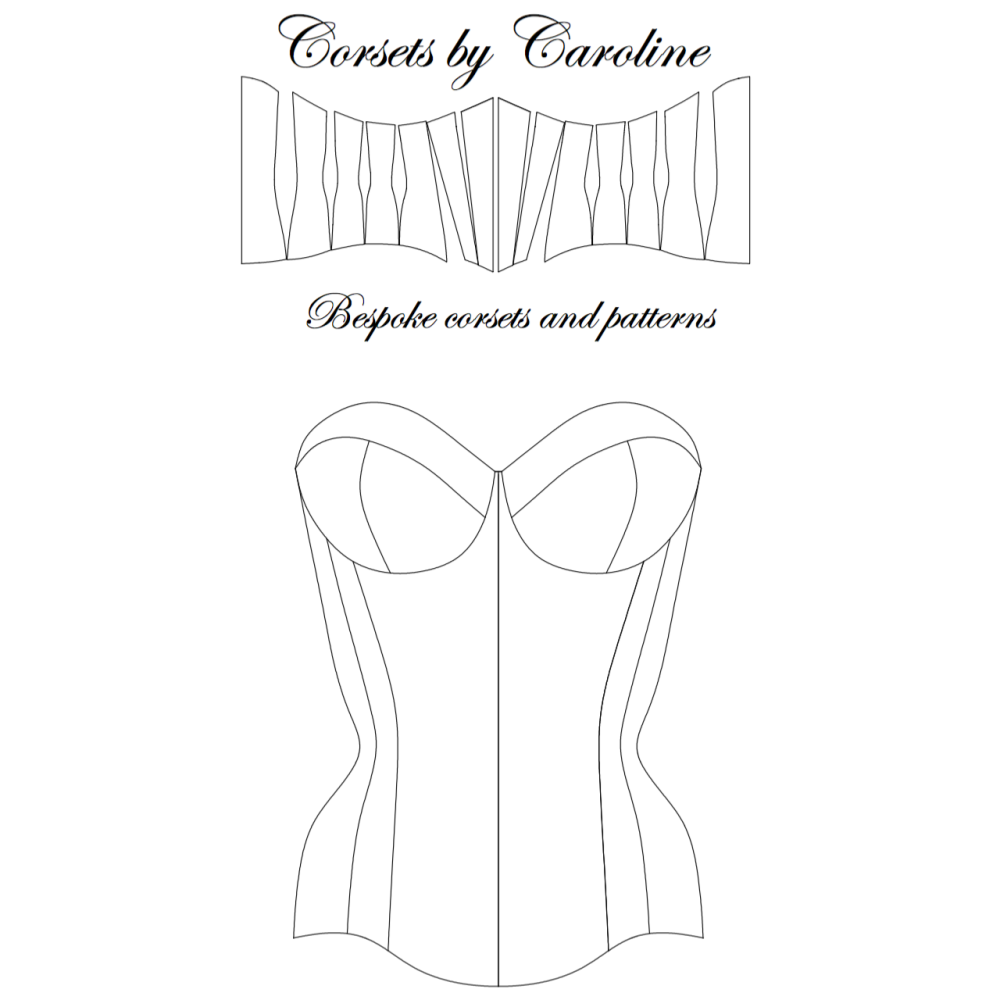
The pattern I have been using.
 |
| corset pattern |
The next step was to cut the pattern out.

Then, I glue the pieces together using tape.


Working with paper and folding it wasn't easy. But I somehow managed to do that. It helped me to study the elements of the corset and be able to visualise how they are going together.


I have never made a corset before but I always wanted to try. That's why I will try to make it a part of my 3D piece. This task was to help me see how all of the parts go together and actually realise how complicated it is.
Thanks to this task I also started to think if I should not make a corset top instead of a proper corset as it started to seem super complicated.


This works well, would like to see an image of the prototype on its own. Some good reflection at the end of this post, but would like to hear more about how useful this was, whether you had done something of this shape or nature in the past, how this compares and so on.
ReplyDelete